Scientists are measuring the effectiveness of face mask materials. Most are using lab-quality expensive equipment designed to get absolute measurements and prove a very narrow hypothesis. But not all studies follow this pattern. A group of scientists and engineers from Duke University have released the results of their experiment using a low-cost method of analysis. They did it on the cheap.
The experiment uses common tools. The researchers used a laser, and cell phone, some custom software, and a guy wearing a face mask. The study follows standard practice for analysis and presentation, but the materials list seems one step above buying some materials at a hardware store. I found this intriguing. I’m going to recreate the experiment with stuff from the Dollar Tree.
My Build
I collected supplies from Dollar Tree. Three black foam boards, a plastic Fresnel lens, and a LED flashlight were the main items. I also got a laser pointer and a hand-held fan. To these I added a mobile phone from my current set.
I built the box based on several measurements. The first is the field of view of the camera used. I wanted the camera to capture as much of the spread of droplets as possible while minimizing extraneous elements like the walls. Spit floats a lot.
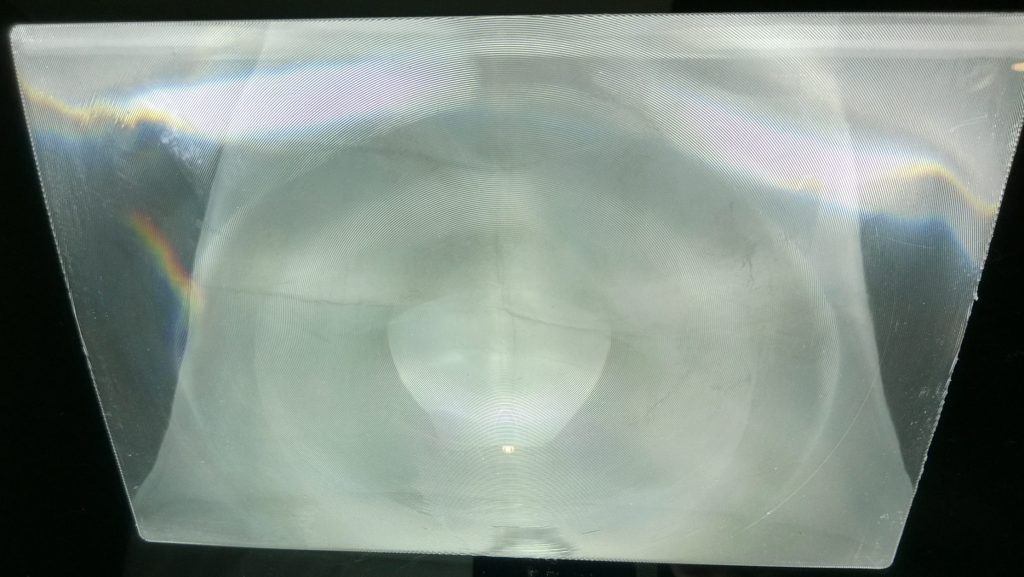
The Fresnel lens was measured next. The box needed to be wide enough to hold the entire lens, and deep enough to allow focusing of the light to occur in the center of the box. This would illuminate droplets in the narrowest horizontal and vertical slice. I wanted the spread of light from the flashlight to be the most concentrated halfway between the speaker and the camera. The Fresnel was 6.5” wide by 9.5” long and focused about 9” away. It’s strong enough to light a fire with sunlight.
The last dimension was the minimum focal distance of the camera. The box needed to be large enough that the center was within the focusing range of the camera. The minimum focal distance for the first phone I tried was 2.5”. Because the distance was so short, I felt fine making the box larger than 5” square. I didn’t need to make the box huge either.
I made full use of the 20”x30” boards. The box measures 14.5” on each side. This made it easy to center the light channel, but just kept the side walls within the field of view of the camera.
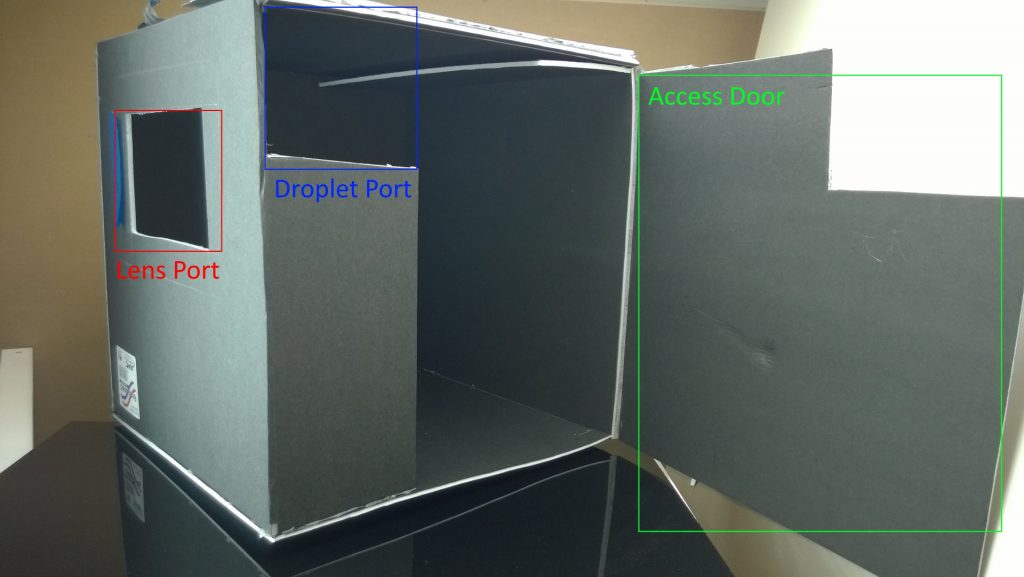
I mounted a mobile phone to the rear panel of the box. I cut a small hole and aligned the camera lens. Low tech painter’s tape sufficed to secure the phone while still allowing access to the buttons and screen. I could even see what’s in the box.
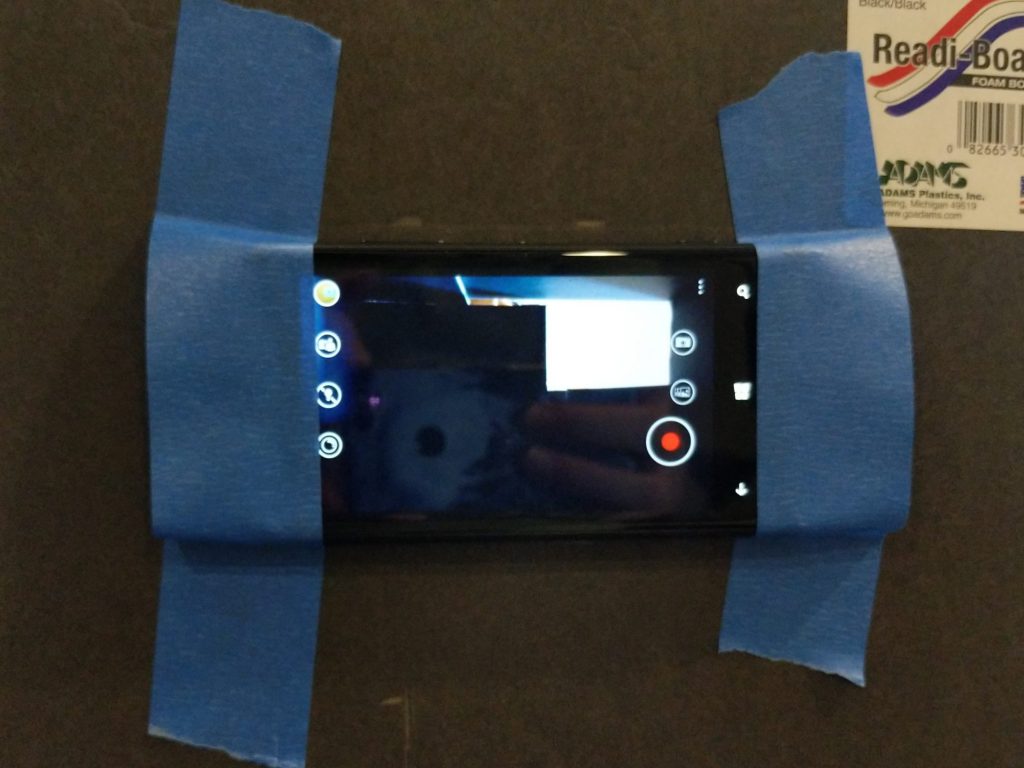
I used water in a spray bottle to test the setup. This produced a consistent heavy spray of large and small droplets. With light passing through the lens in a beam, the droplets become visible within a horizontal bar across the middle of the box.
I tried two mobile phones to record video. Each frame can be analyzed. Video should allow identifying the start of droplet production too. Because the box has depth the droplets must travel some distance to the light beam. Using the audio track I could count the travel time in frames. The first phone, a Nokia Lumia 920, was not sensitive enough to capture droplets. The second phone, a Google Pixel 2, captured the test spray but no unmasked control droplets were visible. It’s time to try something else.
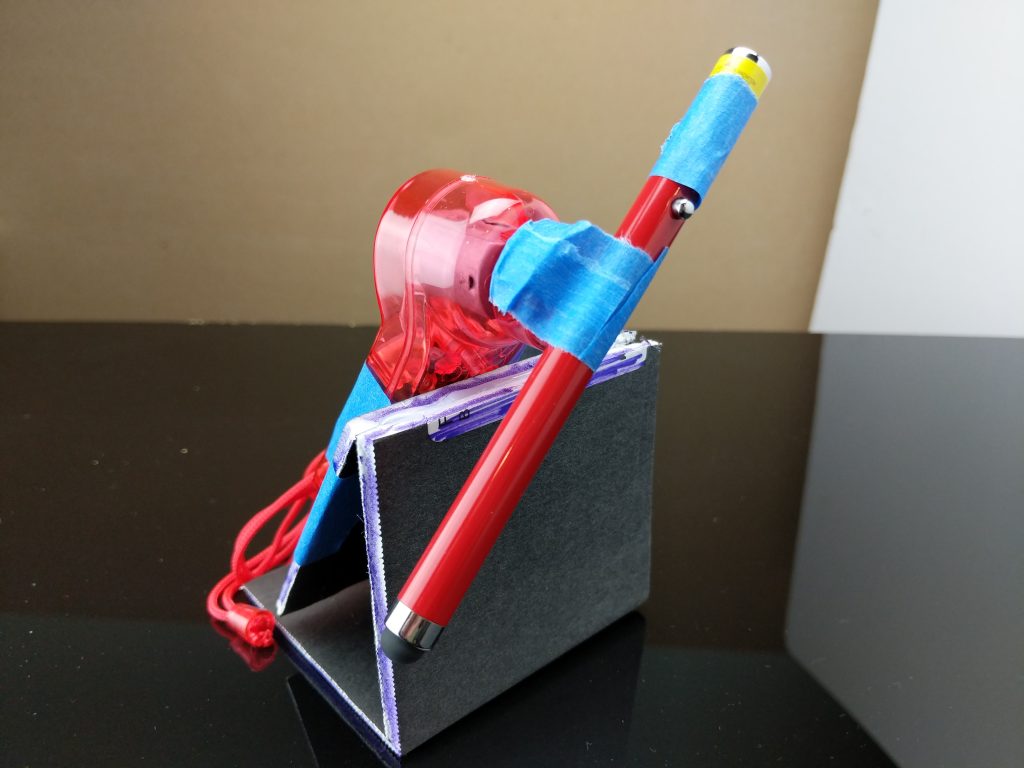
I tried a second light source. The original experiment used a laser with a beam spreader to project a horizontal plane of light across the box. I didn’t have access to a beam spreader, but I recalled another device that uses a plane of laser light: LIDAR. A LIDAR sensor uses a spinning mirror to reflect a laser beam in a circle. I could use the same principle of high-speed rotation to make a relatively continuous plane of laser light. Enter the laser fan.
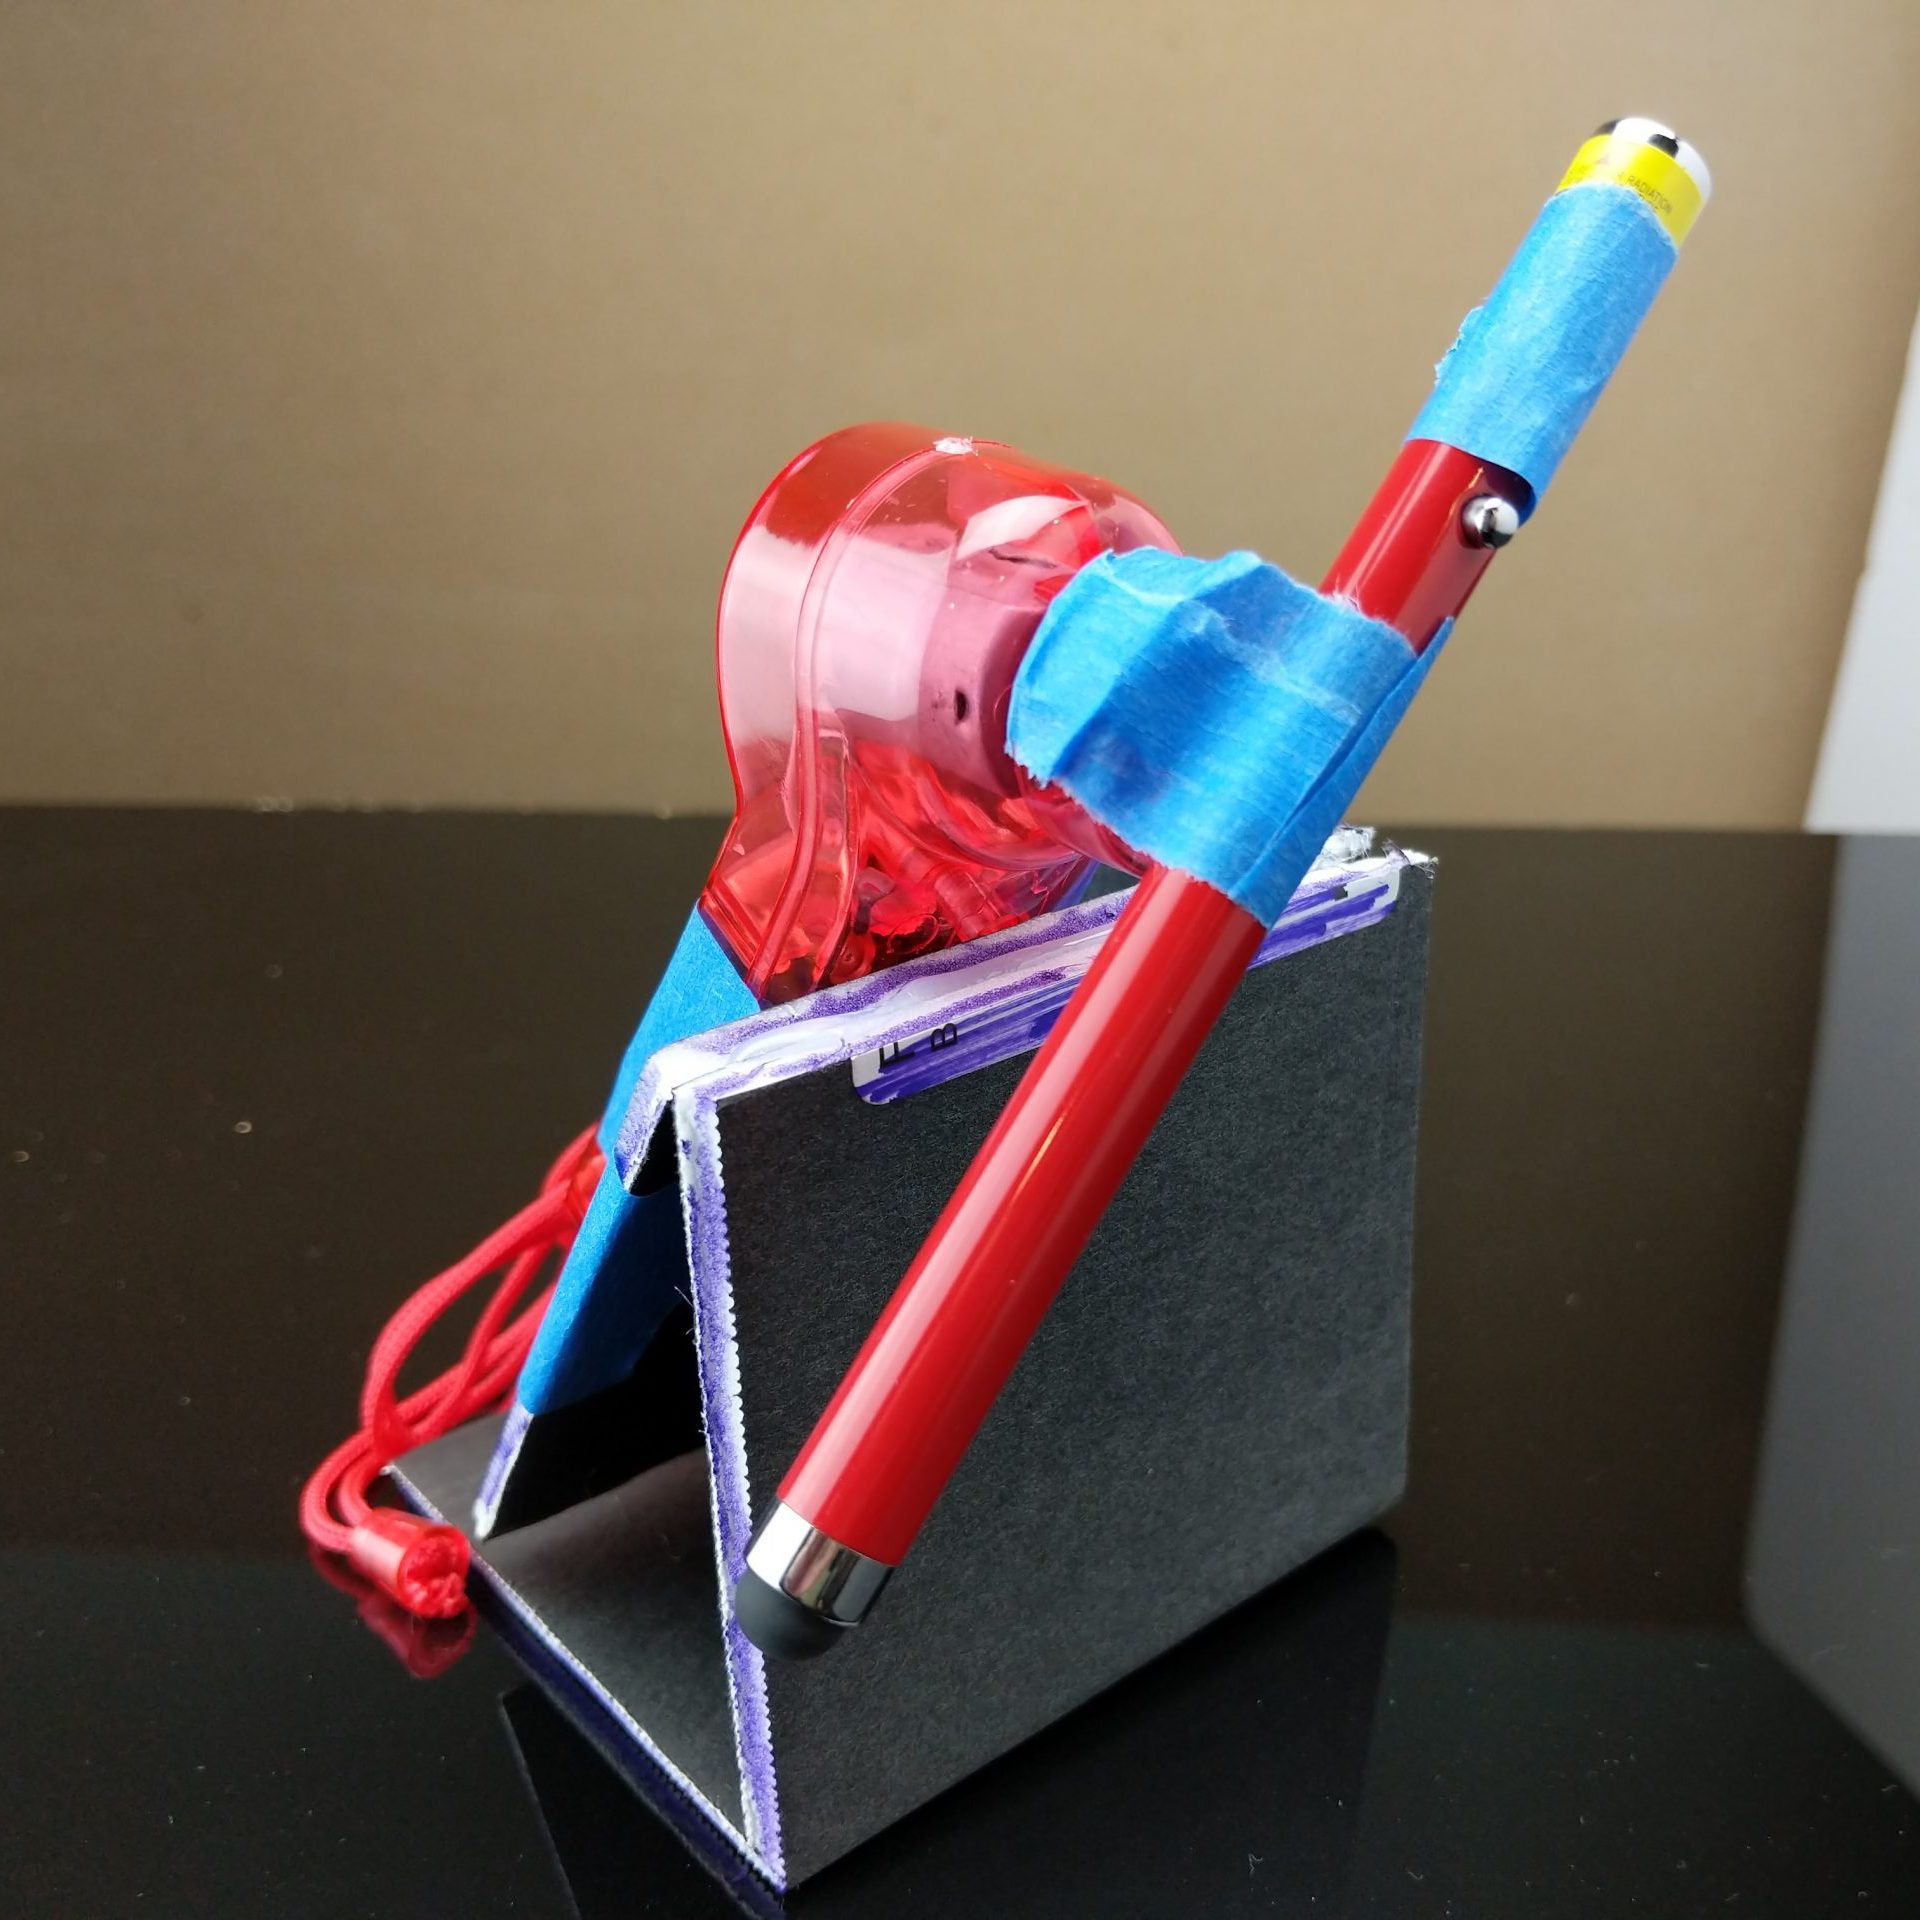
I picked a red laser pointer out as a light source. These lasers are low power and relatively safe even with direct exposure. I also picked a battery operated hand-held fan to rotate the light source. It seemed easy enough to just mount the laser on the rotating axle of the fan. With that, a bit of tape depressed the ON button to engage the laser.
With the laser engaged, I needed to take care that I didn’t get a harmful exposure to my eyes. I crafted a set of laser safety glasses from a pair of clear safety glasses and six layers of blue cellophane. This attenuated the bright red laser to a faint dot when shown through the glasses. With these glasses covering my eyes, I started the laser spinning, the video recording, and produced a test spray. The following GIF shows what was captured from one of the tests.
But I could get enough exhalation droplets to count. Even with a promising result with the test spray, no speaker droplets were recorded on the video. So I increased the quality of the equipment. I moved to using a 60W LED bulb in a lamp for the lighting, and a DSLR for the camera. I cut a big hole for the new camera and started testing again.
Even with the DSLR, video capture did not produce usable images. Test sprays emitted sufficient droplets, but regular speech did not. I eventually set the camera to burst mode for JPGs, at f/2.8 and 1/60th of a second. I also started blowing raspberries.
These changes made it possible to reliably capture droplets for comparison. I counted droplets from three sets of four images: a control without mask, a neck gaiter, and a two layer cotton mask. I used a blunt discernment for categorizing the droplet size. Droplets were either small and looked like dots or large and looked like strings. Droplets out of focus were ignored.
I’ve tabulated the results in a table. This makes the tabular data more rectangular. I also threw in some statistics because math makes everything more credible. Actually, the margin of error calculations reveal a lot of variability in the cotton mask test.
| Image 1 | Image 2 | Image 3 | Image 4 | Averages @ 95% | |
| Control | 31L, 3S | 20L, 8S | 32L, 9S | 28L, 4S | 28L±4, 6S±3 |
| Gaiter | 17L, 7S | 27L, 3S | 31L, 6S | 33L, 0S | 27L±6, 4S±3 |
| Cotton mask | 34L, 33S | 18L, 30S | 4L, 25S | 10L, 10S | 17L±11, 25S±9 |
The results of this test are surprising. The gaiter seems to make little difference in overall spray. The cotton mask does seem effective at reducing large droplet spray, but at the cost of greatly increased small droplet spray. Small droplets are expected to float in the air longer, and therefore pose an increased risk of airborne contamination over large droplets. This differs from a finding of the original study, which showed small droplet count higher for the gaiter than any of the other masks. The cotton mask also has a much higher margin of error than the other samples. Maybe spitting in a mask doesn’t work reliably.
This was an interesting build for me. I wanted to see if I could validate a scientific paper. I wanted to see what I could learn about the masks I had. I wanted to go to the Dollar Tree, because everything’s one dollar. The process reinforced my belief in the scientific method, and the cause of science in general.
- Many things can go wrong.
- You need to be diligent in your testing process.
- Sample sizes matter.
- Keep an open mind, because your preconceived notions may be wrong.
I also found that I could not replicate the experiment using only low-cost materials. Science experiments often require precision equipment that hobbyists don’t need. Determining an analogue for a squishy human action increases consistency. This was very evident in exhalation droplet production. But I was very pleased to capture images both with a laser beam and a focused light source. Yeah science!