I love my portable power stations. I recently saw a 12V LiFePo4 battery on Amazon Vine, along with several other 12V accessories. That triggered an idea for making a brand new battery box myself. I wonder if I can make the power station out of parts I get entirely from Amazon Vine?
I’ll walk through the steps I took in making my own portable power station. Now I’ve got another option for reliable power wherever I go. You can make you own too.
What is a Portable Power Station?
A portable power station is a device that can provide electricity on the go. It is essentially a battery pack that can be charged using solar panels, wall outlets, or car chargers, and then used to power electronic devices like smartphones, laptops, cameras, and even small appliances like mini-fridges or electric grills.
The main advantage of a portable power station over traditional generators is its fuel source. It does not require any fuel or oil to operate and does not produce any harmful emissions. This makes it an ideal choice for outdoor activities like camping and hiking where you want quiet, clean power .
The most important decision when choosing a portable power station is how much power (wattage) is available. A laptop and a coffee pot take only a little power. A blanket or a kettle takes more. If you want to run a refrigerator or a space heater all day you need a much bigger system. Luckily UL listed electrical appliances list their wattage use.
Uses of a Power Station
Camping
I use my Jackery 500 every camping trip. It powers LED lights, charges my phone, my camera batteries, headlamp, and rechargeable flashlights.
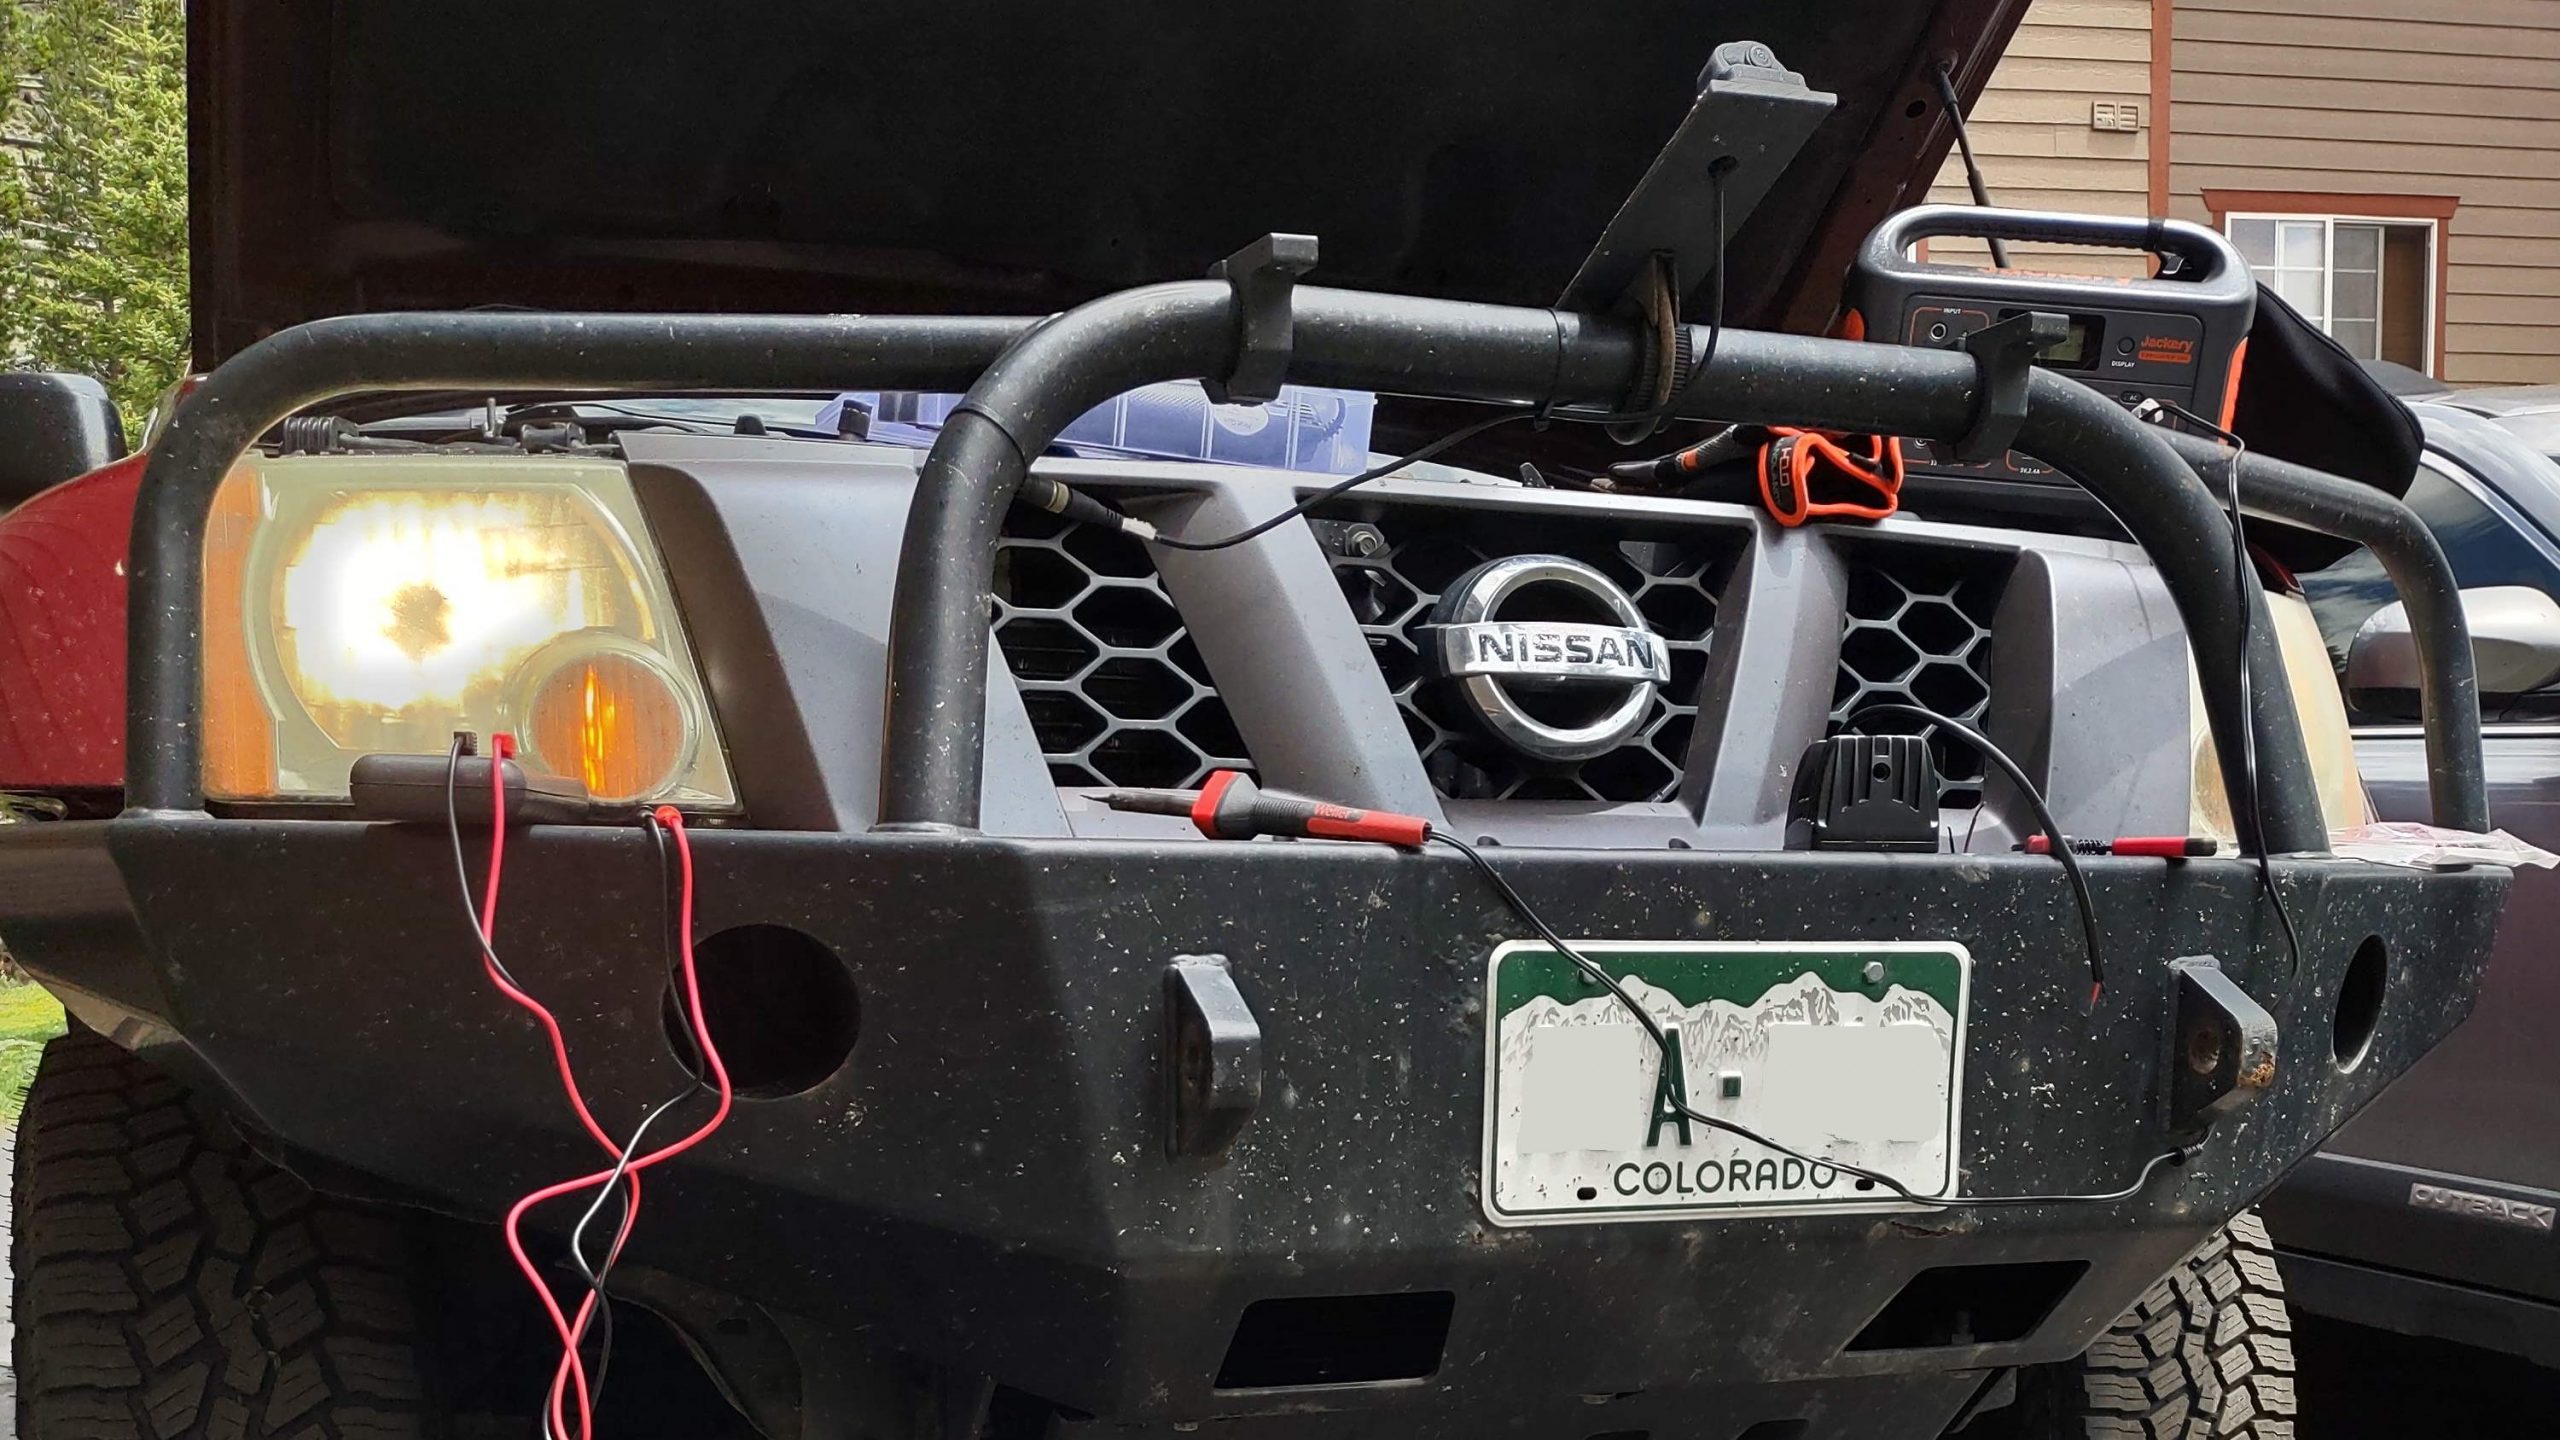
On my first trip this summer, I used it to run a mini-fridge, which I got on Vine. The mini-fridge takes a lot of power; I ended up using the Jackery one day, my Bluetti EB3A the second day, and recharging both from the truck alternator. But it kept the meat and sodas cold!
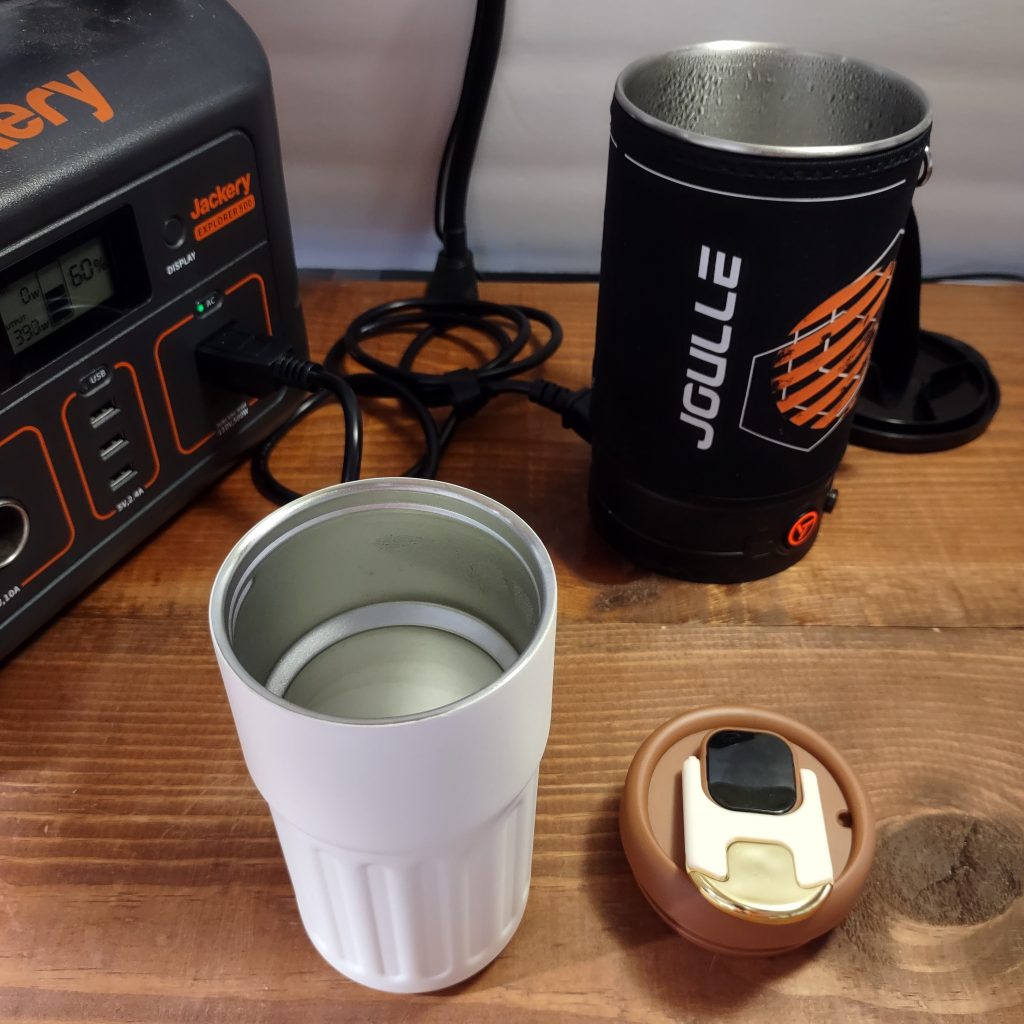
Cooking at the campsite has never been easier. I have a 5 cup Mr Coffee coffee pot for coffee. It also makes good soup and heats hot dogs. I have a Joulle 500W kettle to boil water, make oatmeal, and pop corn. My favorite appliance is the Dash mini griddle. I’ve tried
- mini quesadillas
- ground sausage
- hamburgers
- pancakes
- scrambled eggs
Having 120V electric appliances at camp means you don’t need a fire to cook.
My favorite use while camping has to be running a 12V electric blanket. I have a blanket with a 1 hour timer. I turn on the blanket, get warm and fall asleep, and the blanket shuts off automatically.
Around the house
I also take my power station all around the house and garage when I’m tinkering.
- Plug in a lamp for more light
- Vacuum the truck
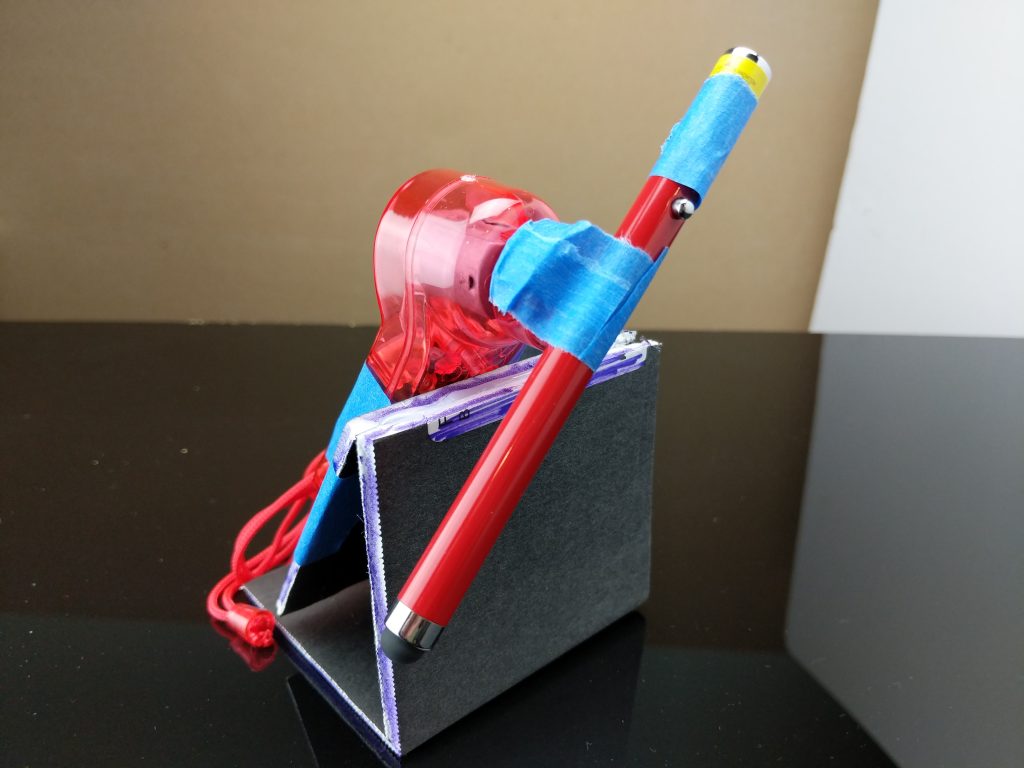
- Heat soldering iron for wiring
- Run a pump sprayer to wash the truck
- Trickle charge a battery
Power without an extension cord is very convenient.
Power outage
When the house power fails, having portable power stations really shines. Just like when camping, I can cook and have light and a warm blanket. More importantly, I can run my laptop all day if needed. For a remote IT worker, this is critical.
Components
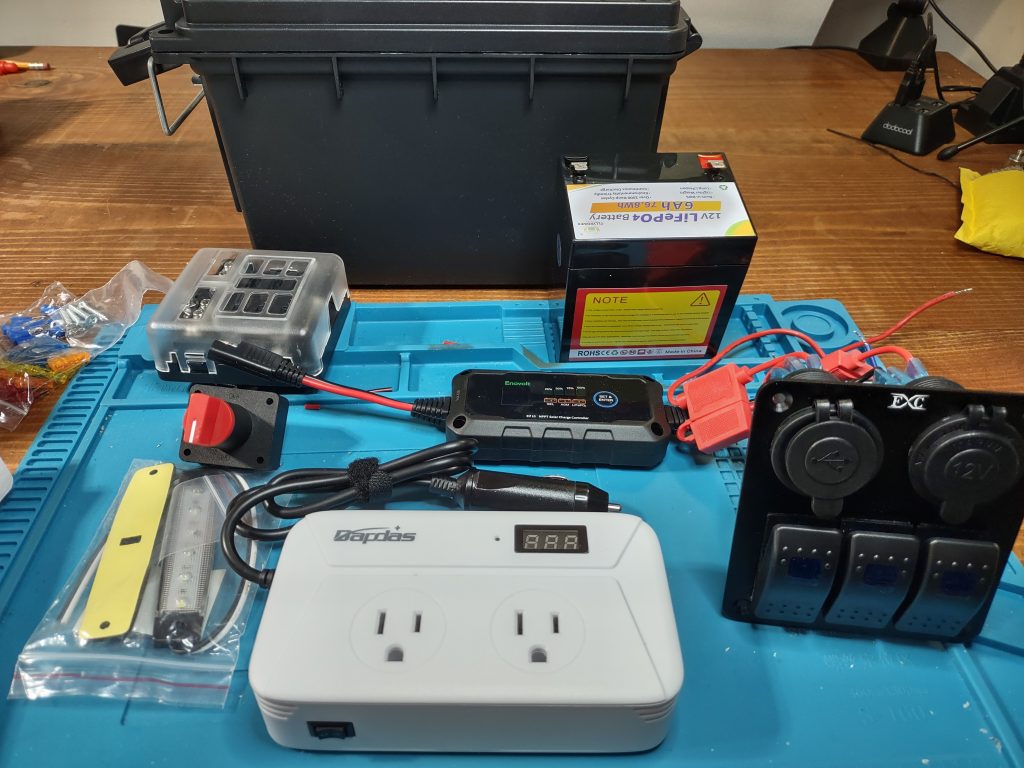
Battery
I saw the FLLEEYPOWER 12V 6Ah LiFePO4 Battery on Vine. Its small capacity meant it wasn’t going to run big loads for hours. P=IV, so 144W would use 12 amps (12A) at 12 volts (12V). This battery is only rated for continuous discharge of 6A in 1 hour, or 72W, and 144W for 3-5 seconds. The dimensions are small though. I thought it would fit in an ammo can.
12V Output DC Power
You’ve seen them. The round 12V socket, a.k.a the cigarette lighter outlet. A common 12V fitting on all cars. My truck has 4, one of them I installed myself on the rear bumper.
You can plug in many car accessories. USB chargers, portable vacuums, tire inflaters to name a few. Most any automotive parts shop will carry a panel with a pair of USB ports, a 12V socket, and a couple of switches. I got the FXC Blue 3 switch panel from Vine.
120V Output AC Power
The big deal in portable power is AC power, or line power, or 110 power. It’s the power you get in your house when plugging a TV into a wall socket. It’s provided by the local electric utility company via the electric grid. In portable off-grid systems AC power comes from inverters.
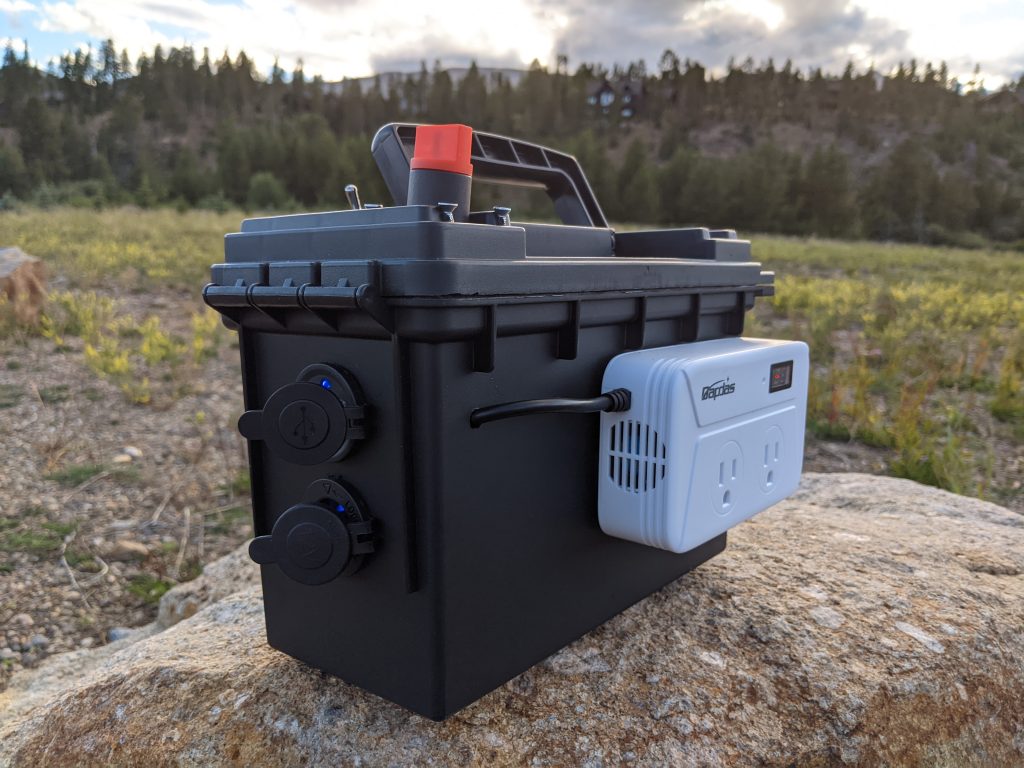
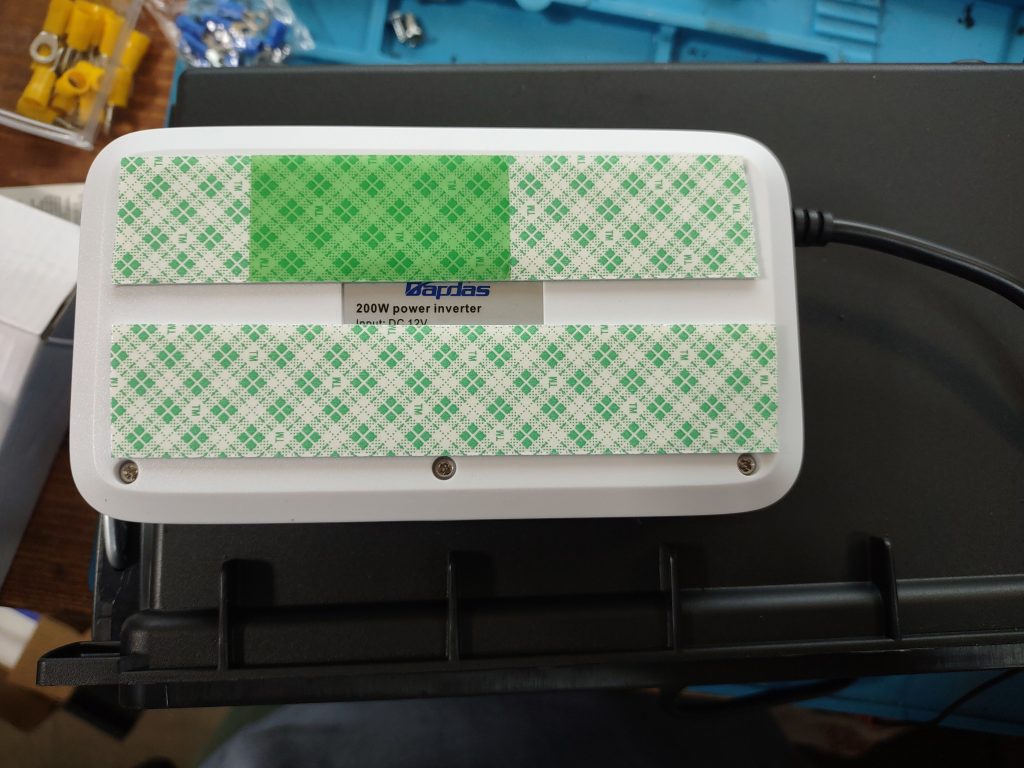
Inverters transform 12V DC current into 120V AC current. Refer the Edison vs. Tesla cage match. For AC power on the battery box, I only had a few amp-hours of capacity, so I settled on a low power inverter. The Bapdas 200W car inverter fit the bill. Plus it has a voltage display.
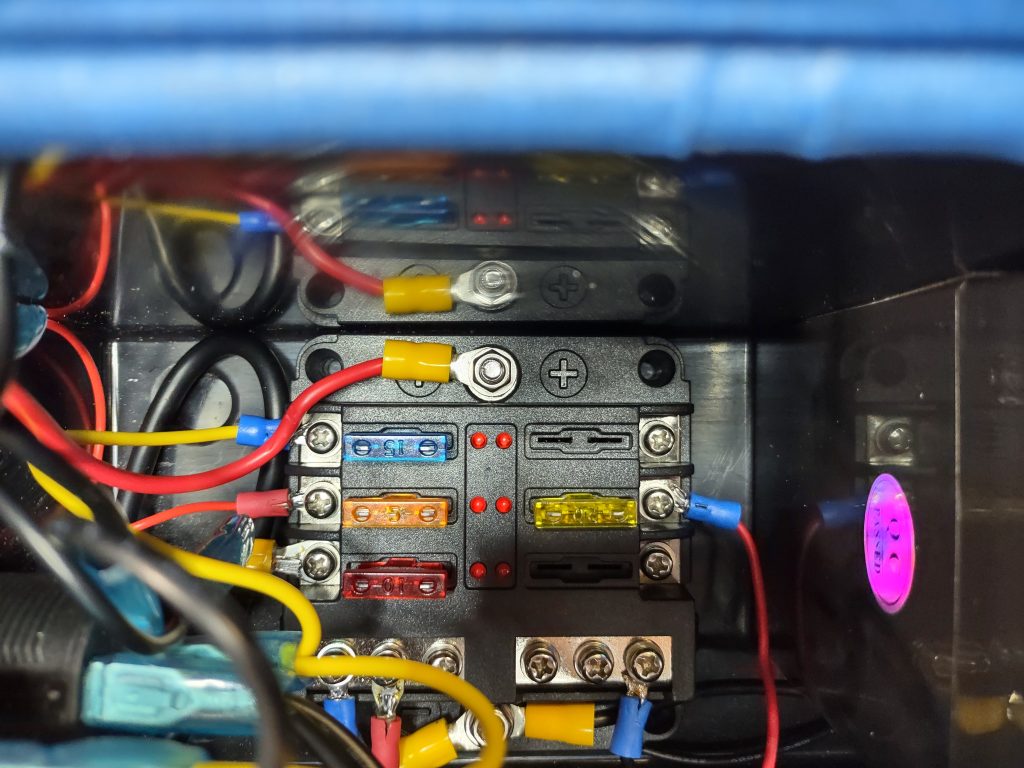
Fuse Block
Current flows cause heat. Heat causes fires. Circuit protection stop fires. Fuses protect 12V circuits.
A fuse block combines separate circuits, easy fuse replacement, and common neutral bus bars. Separate circuits lets you add multiple switches and different sizes of fuse depending on load. I got a 6 fuse block from POWO Carlife.
Switch
Who doesn’t like a chunky switch? When I saw the tall 100A shutoff switch from Autoxbert I knew I was going to drill a hole and mount that switch inside the box. Most of the fancy electronic power station have a push button on/off switch.
Case
I thought an ammo box, a tackle box, or some other type of lidded box a handle would work well. Plastic would be cheaper and easier to modify. I couldn’t find what I was looking for on Vine, so I ordered the Sheffield ammo can from Amazon.
I made sure I had the measurements for the battery, fuse block, and inverter before ordering the box. Everything needed to fit inside or outside, on the sides or top. Round divots in the lid, the same side as the chunky switch, solidified the selection.
Solar panel
The ultimate off-grid power source is a solar panel. But solar panels are tricky in this case. For a 12V system, most “portable” panels are the size of 2 pizza boxes. Most of the panels showing up in Vine are 5V 3W-5W. Way too small to power even this modest system.
Charge controller
Bigger solar panels usually run at higher wattages with more variability. For example, a typical residential panel generates current from 12V on cloudy days to 18V in full sun. A charge controller regulates this voltage fluctuation and provides the correct voltage to the panel. I did find a 10A controller from Enovolt on Vine.
Light
Ever wanted a flashlight that will run for days? Every power station comes with a light. I had a 12V LED light in my electronics grab bag.
Construction
Measure once, cut twice. I think that’s how it goes.
The construction process began once all the materials had come in. First I stuck the battery, fuse block, and 12V sockets in the ammo can to make sure it all fit. I try to take into account routing and bending wires.
I broke the three switches that came with the 12V sockets at this point. The set was fully wired from the factory. But not how I wanted it wired. The wire lugs were firm. So I ordered some small but fine metal switches.
Next comes drilling holes. You don’t want to run a drill bit into the battery once it’s mounted. The cutoff switch was an 1/8″ larger than the divot. Nothing that a step drill bit and steady hand won’t handle. The light switch went in on top too.
The base plate for the 12V sockets was just wide enough to require cutting the lid bracing. Because I had already tossed the switches, I tossed the plate and mounted the sockets directly to the ammo can. I already knew how far into the can the sockets and wire projected.
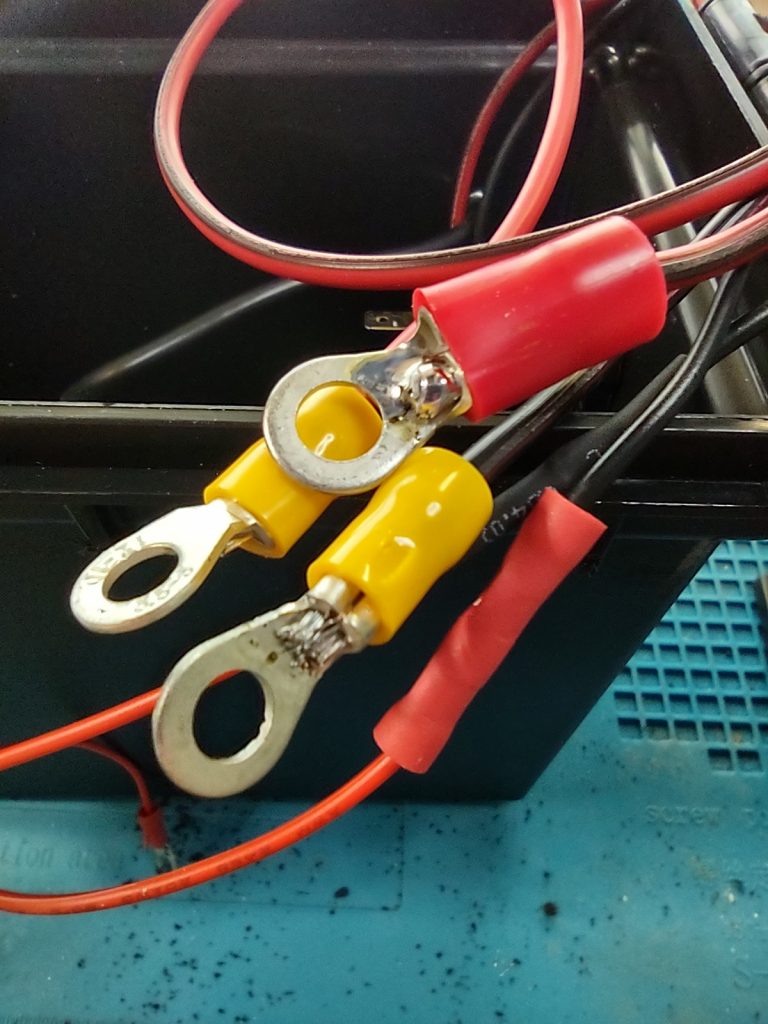
I prefer to solder and shrink wrap connections. This gives a stronger joint. But ring terminals make it easy to wire a fuse block. So I solder the wire to the ring.
The inverter is mounted on the outside of the can. I settled on one side instead of the top. So I removed the 12V plug and drilled a hole for its cable. I put a hole opposite this for the solar panel cable. I planned to mount the charge controller inside.
The last hole was for the LED light. I found a vertical orientation worked best because the leads were centered and lay behind the lens. And the battery was directly behind the light, I moved the light to one edge so the hole would clear the battery.
After all the holes were drilled, it was time to lay out the wiring. Wires run from the battery to switch and fuse block. Wires lead to the sockets and light and switches and inverter. Wire to crimp, wires to solder, terminals to screw down.
Final mounting used some bolts, some flanges and nuts, and some feet of double sides tape. Overall it feels sturdy, but I wouldn’t want to drop it.
Testing
I did a test of the wiring one leg at a time. Everything worked!
The LED light is not very bright but draws very little power.
The inverter displays the battery voltage, and loads over 100W run on it for a short time.
Both 1A and 2.5A USB chargers work. I ran the mini-fridge on the 12V outlet for about 15 mins and was satisfied.
The cut off switch is sturdy with a chunky feel. It works exactly as advertised. I’d like to add a custom cover to the terminals.
Neither a 5W nor an 8W solar panel I bought from Amazon were enough to run the charge controller. I’m considering buying a much bigger panel that’s capable of making 15V+ in direct sunlight. For now I’ve got a LiFePo charger to directly charge the battery.
Cost Breakdown
- 120V Inverter $25
- Case $10
- Switch $7
- Small switches $12
- Battery $25
- Solar panel $18
- Charge controller $40
- Fuse block $11
- 12V sockets and switches $24
- Total $172
This project ended up costing the same as a similar power station with a bigger battery and without the solar charging. If I did it again, I’d leave off the solar and get a LiFePo charger and larger battery.
A portable power station is a convenient and reliable source of power for anyone. I made one using inexpensive parts, the most expensive being the optional solar charge controller. Whether camping, working around the house or during a power cut, a portable power station shouldn’t be out of reach.
Thanks for reading. I had a lot of fun building this battery box: 4 full evenings after work to get it ready for a Friday camping trip. If you want to build one of your own, I’ve included Amazon affiliate links to the specific products I used. If you buy one, I get a commission but it doesn’t cost you any extra.